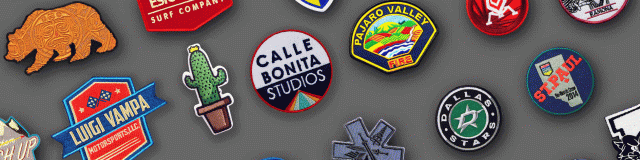
Patches, they’re everywhere!
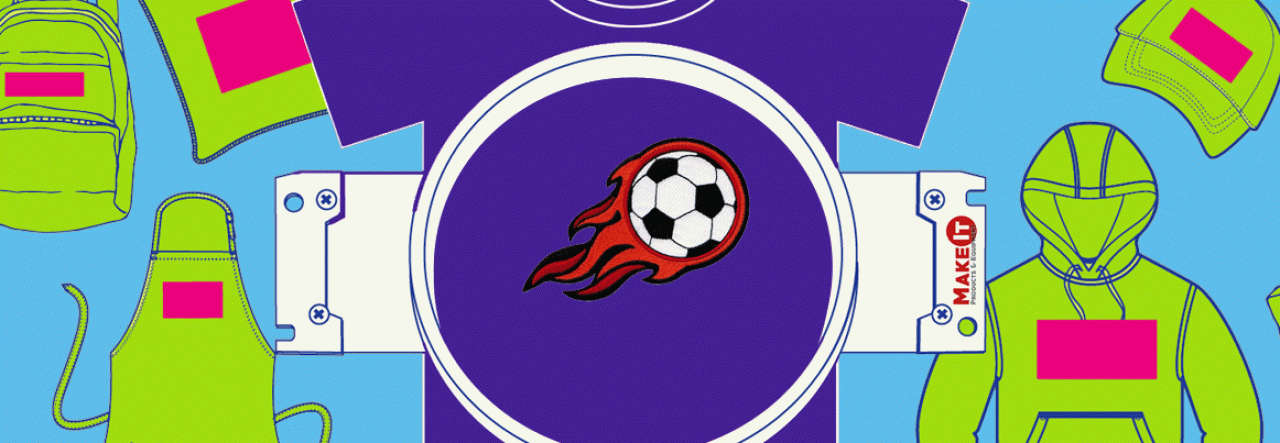
You’ve seen them on jackets, jeans, shirts, backpacks, even sneakers…
The cute embroidered accessories from your youth are making a comeback in 2017, and they’re not just for girl scouts! Popular retailers like Urban Outfitters and Forever21 are pushing patches into mainstream fashion.
As an embroiderer, you want to get in on the fad! Whether your stylish niece wants a custom patch, or you just want to deck out your favorite shoulder bag, it’s time you learned to make your own patches!
How to create an embroidery patch on your commercial embroidery machine
The tools you’ll need:
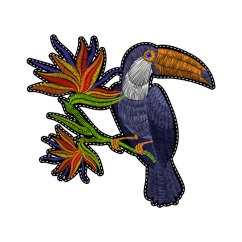
A digitized patch design: Make sure your design has a reasonable level of detail that will translate well when it is scaled down to patch size.
Sharp needle: The high thread count of most patches means a worn down needle could cause damage. It’s best to start fresh with a brand new sharp needle.
The fabric of your choice: Since you will be using a heavy satin stitch for the outline of your patch, we recommend a sturdy fabric like cotton or canvas.
Water soluble stabilizer: These stabilizers dissolve when rinsed, leaving your patch with a clean finish after your hard work is complete.
- Choose your digitized patch design and load it into your embroidery machine.
- Hoop a piece of heavy water-soluble film or water-soluble mesh in a suitable hoop size. Water-soluble mesh allows you to stitch multiple patches in a single hooping, while the film type perforates, limiting you to a single patch per hooping.
- Begin by embroidering a placement line of your patch design directly onto the water-soluble stabilizer.
- Place your patch fabric over the placement line and stitch the tack-down line.
- Edge the outside of your fabric using a zigzag stitch to connect your patch fabric to the water-soluble stabilizer.
- Cut around the fabric with scissors, keeping close to the tack down stitching.
- Stitch the elements of the patch, finishing with a satin border, using a density of about 3 points.
- If using film type stabilizer, just punch the patch put and it is complete. If using water-soluble mesh, submerge the patch in water or moisten around the edges using a moistened cotton swab.
There you have it! Once fully dry, you can attach your patches with adhesive or sew them onto a garment for a fun custom twist on your favorite clothes.
